How to Poncho - Unity Cloth Tutorial
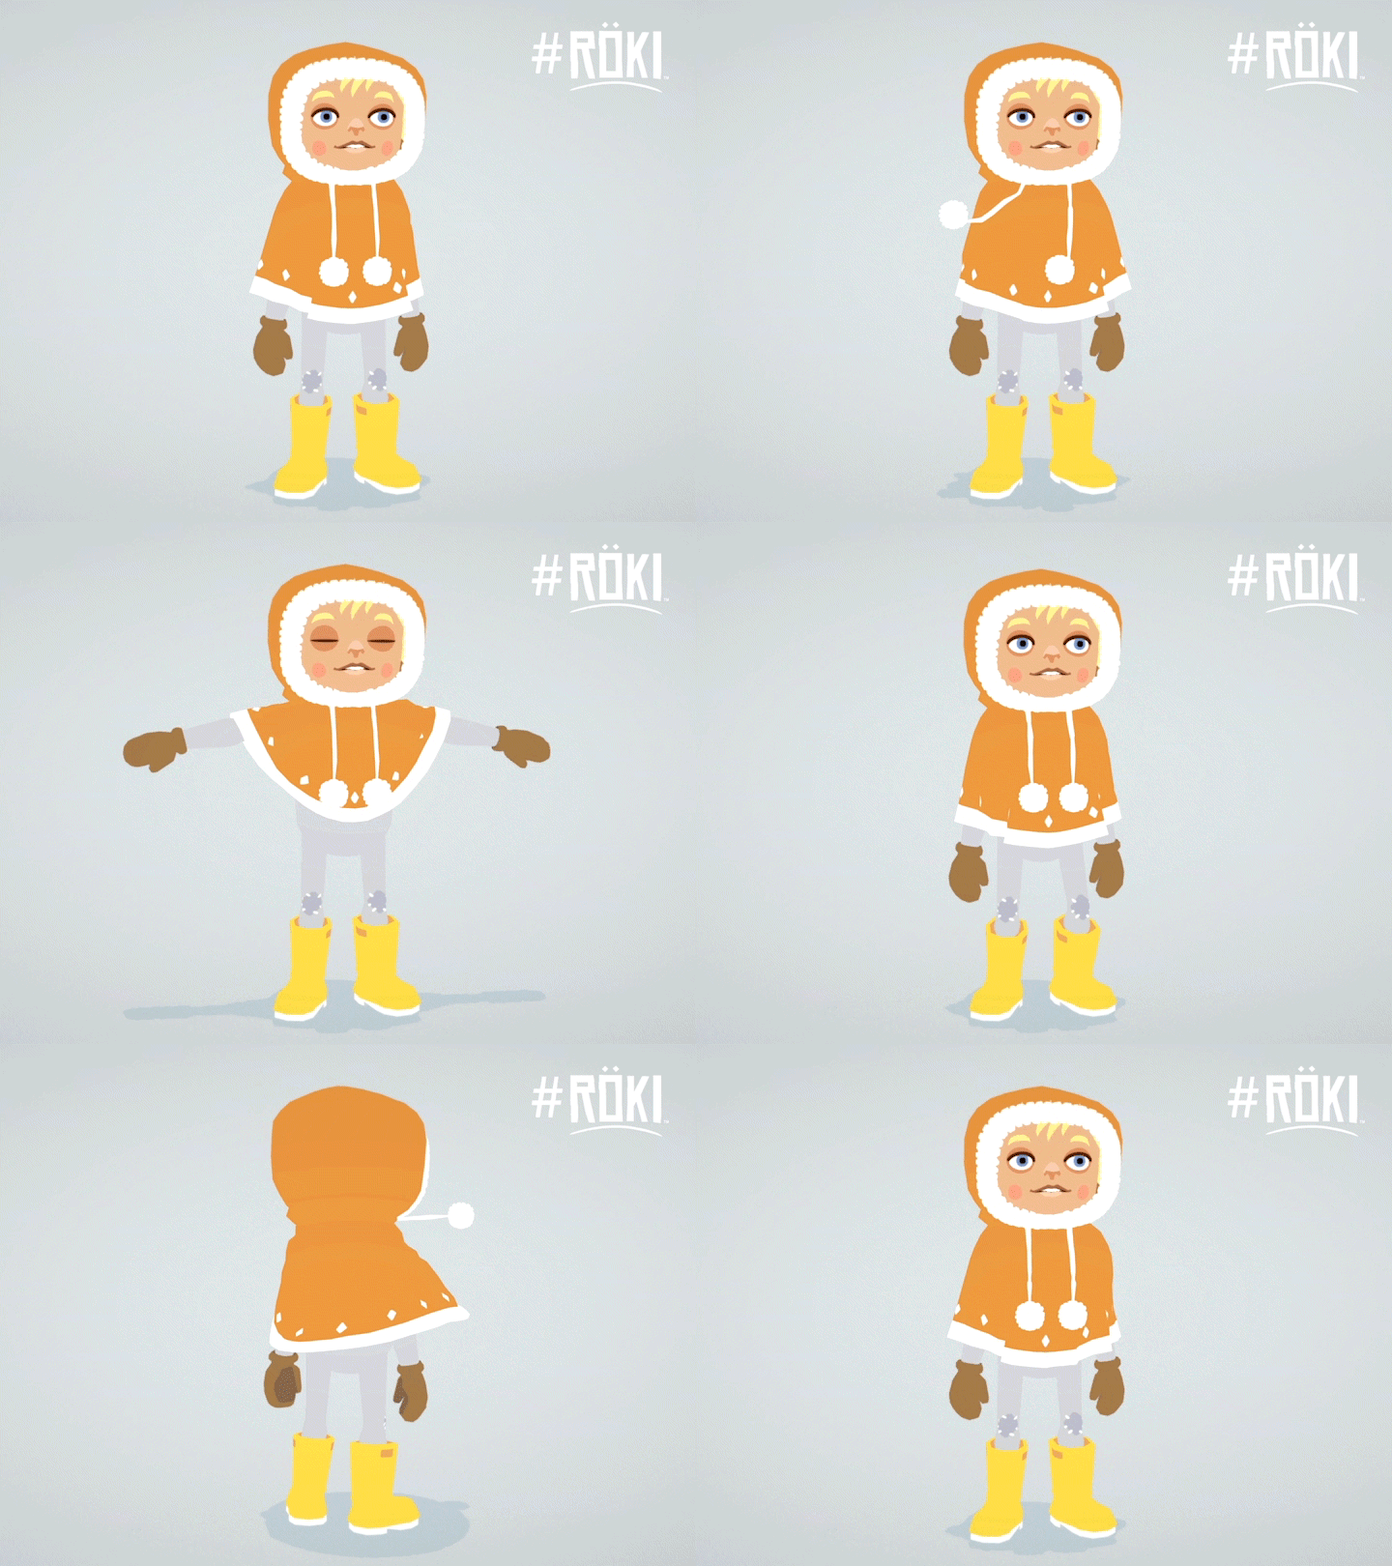
A few weeks ago we shared a GIF of Lars' amazing physics-driven poncho that you can see above. The response was pretty mega (seems that everyone loves Pom Poms!) and we had multiple requests for a tutorial showing how we set it up in Unity. We're more than happy to help, so this week's blog-post will be a breakdown of the steps we took to create it.
We're aware not all our readers are game developers so we'll be trying to keep it broad and accessible to all. Hopefully even if you're not a gamedev yourself you'll still find it an interesting insight into how we achieve certain aspects of the game.
We've found this approach to be pretty flexible so I'm pretty sure it could be applied to other character elements, not just ponchos; for example, Tove's ponytail is created using a similar method. I'm sure you could apply it to a whole host of items, capes, skirts, hair, kilts, scarfs...loads of stuff to hit with the physics stick!
To begin with it's worth pointing out that we created Lars' poncho using Unity's in-built cloth. No extra plugins or asset store purchases were used to create it...so thanks Unity, great job! It's also worth pointing out that whilst this is the method we used, I'm sure there are other ways of achieving the same results or maybe even better results, but this is simply us sharing what we did. Anyway, let's crack on...
1) Create/Iterate Meshes
First things first, create the 3D mesh you want to turn into a cloth object. We use MayaLT, so this was all done in there and then exported to Unity. We modelled the cloth objects alongside the character to make sure that they were to the correct scale, but they are all exported as separate un-skinned meshes into Unity (not as part of the main character export). Single sided geometry works best, as anything with thickness has the potential to collapse and clip through itself in the physics simulation. With the single sided geometry you'll have to make your Unity shaders show the back-faces of your geometry (You can set this in your shader's subshader definition, I believe 'Cull Off' should do it).
Nothing particularity to be aware of when creating your geometry, but the key point I'd stress is that you should expect to iterate on your meshes to play around with the mesh density once you seen how it works in game.
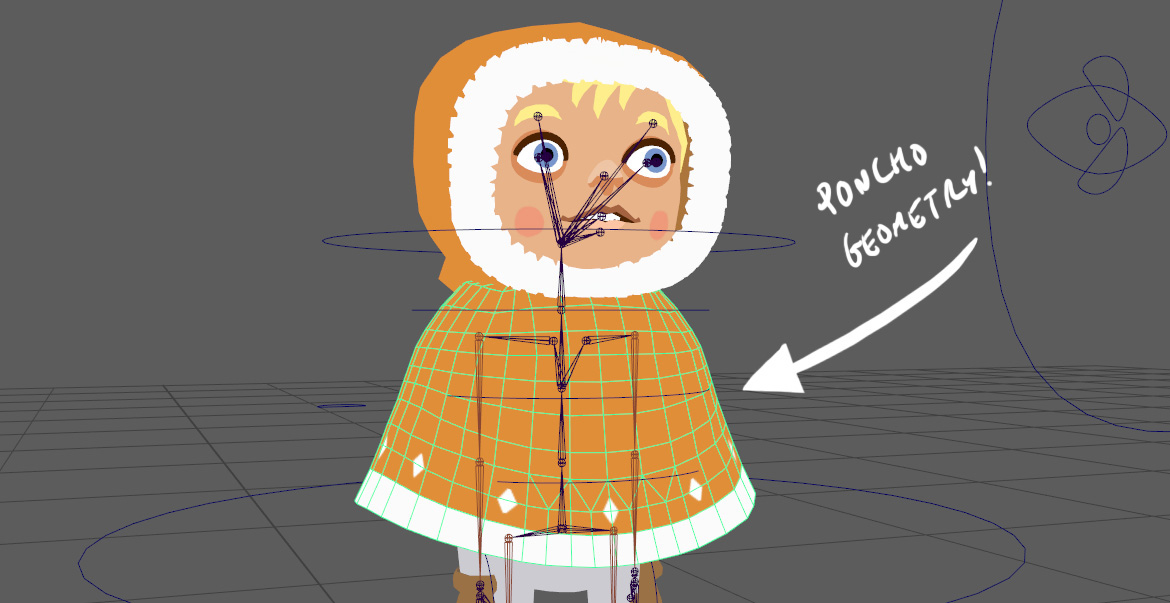
The heavier your meshes (the more vertices/polygons they have) the more expensive the cloth will be from a performance point of view so start of with a reasonably light mesh, give it a test to see how it holds up under simulation, then add detail as you need it. The Unity set-up is pretty easy so it's quick to refine/add detail to your meshes, set-up the physics again and give it a whirl. If you're interested here is the geometry topology of Lars's poncho mesh so you can get an idea of the density used (you can see there is extra detail added at the bottom in the area that will be stretched the most).
2) Unity Set-up & Constraints
Once you have your mesh The Unity set-up is pretty simple once you know what you're doing:
- Create an empty game object
- Add a cloth component to it
- Drag the mesh you want to use into your game objects Skinned Mesh Renderer's 'Mesh slot'
- Hook up your desired material (it will come with no shader assigned to begin with)
- Click Edit Constraints in the cloth component
- In the edit constraints box, click 'visualization' and make sure 'manipulate backfaces' is checked (this will allow you to set the constraints of verts that aren't 'facing you')
- Click the '2D' button on your view-pane to switch your camera to an orthographic view, it'll be much easier to edit this way.
- The value you want to set is 'Max Distance' (a value of 0 means that it will be unaffected by the cloth simulation, effectively pinned in place). Simply drag a selection box over the verts you want to set the constraints for then type in the 'Max Distance' value you want. With the poncho, we set a 'Max Distance' value of 0 at the top to pin it in place, then gradually increased the 'Max Distance' value on the verts as we travel down the poncho, ending up with a value of 0.2 at the bottom edge of the cloth. Click 'Edit Contraints' when you're done and click '2D' on the viewpane to exit the orthographic view.
There are a few cloth component variables that control how the cloth reacts to movement and the intensity of that reaction. I fiddled with them for a while and you'll need to tweak these for your own needs. I found the ones to play with are Damping, World Velocity Scale & World Acceleration Scale but by all means fiddle with all of them to get the results you require!
If you hit 'play' now you should see you cloth object sag and take wait when the game starts. If you move it around in the editor when the game is running you should see it react and drag as you'd expect when moved.
At this point the cloth is an isolated game object, not attached to the character in anyway. To attach it to your character simply drag it into your character's joint hierarchy, parented under the joint you want to attach it to, it's a simple as that! It will now move with your character but you'll notice that it drapes through you character's chest and arms...we need some collision!
4) Collision (and per cloth collision)
The collision set-up is also remarkable easy to set up.
- Add capsule colliders to each of your character's joint you want to influence the cloth. In my case this was the body, chest, upper arms (left & right) & lower arms(left & right).
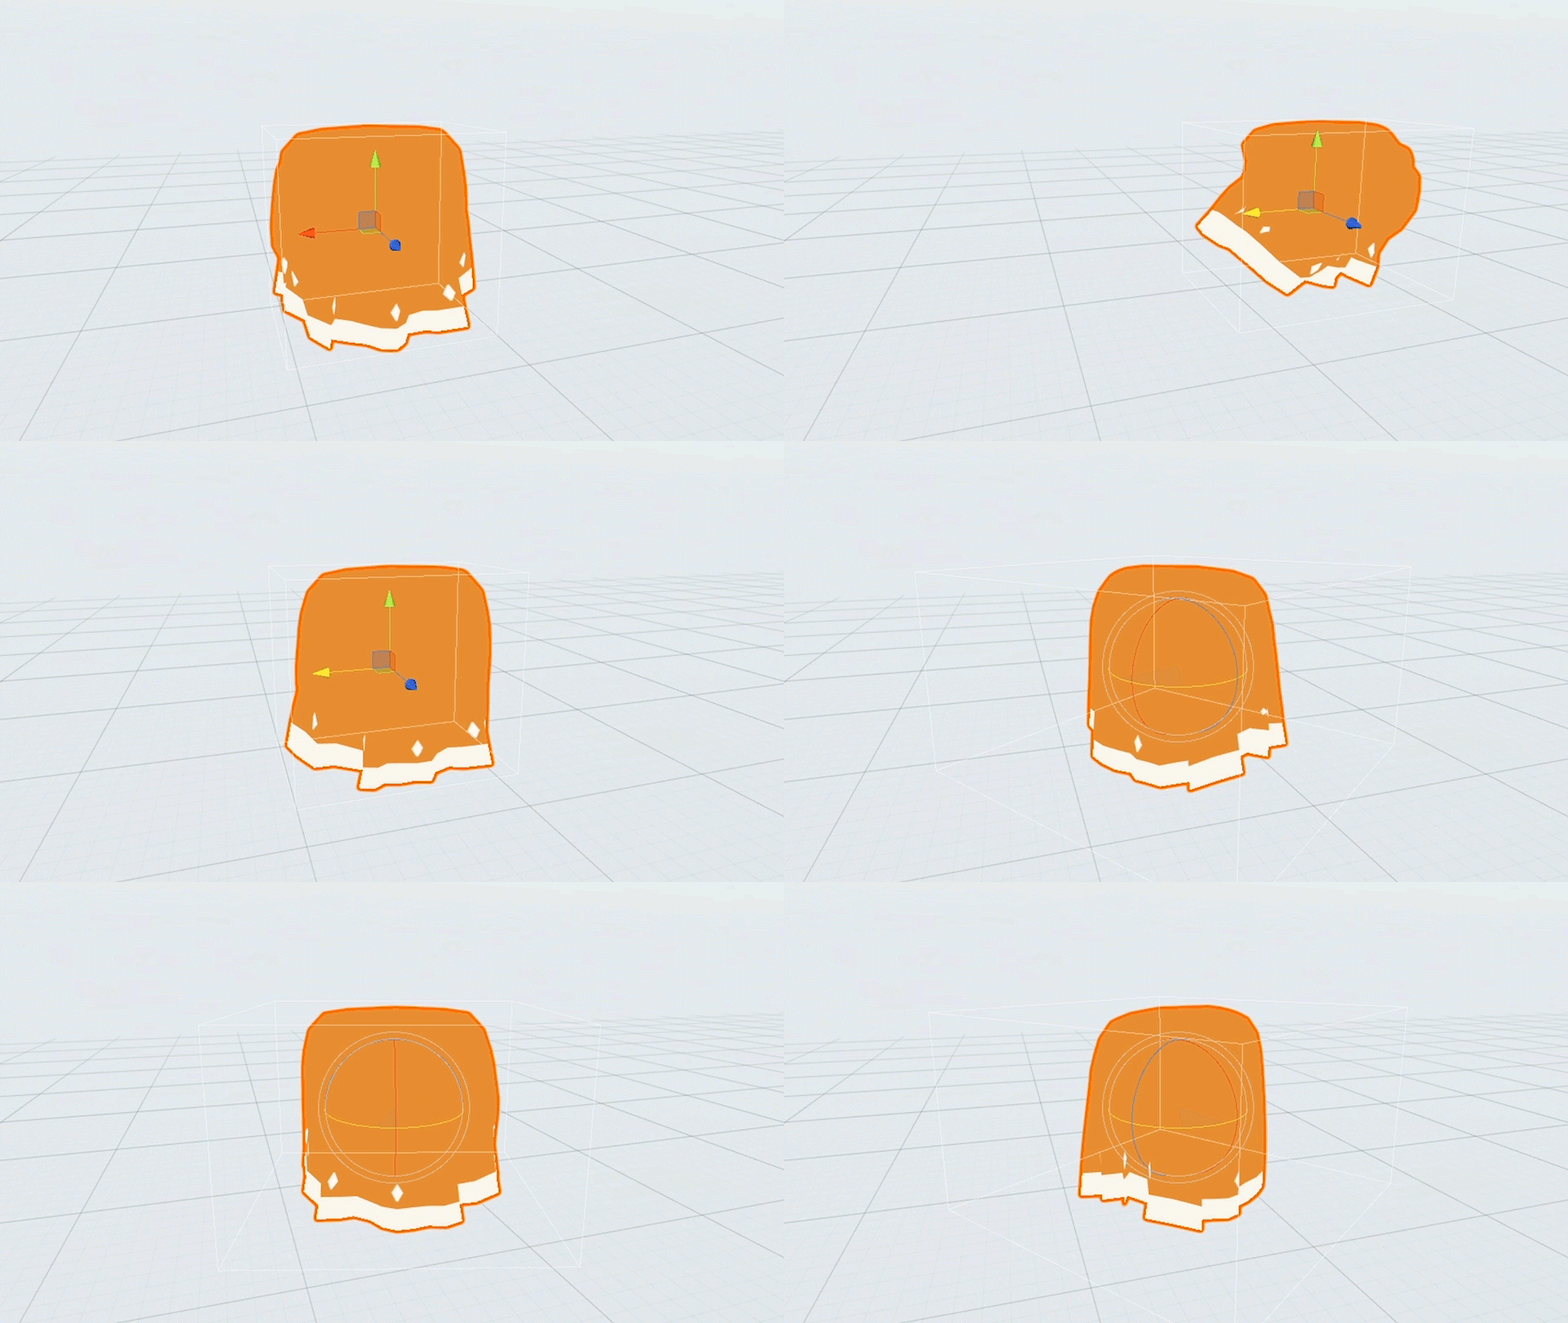
- Resize each part's capsule colliders so they are a bit bigger than the body part they represent. Making them a bit bigger will help to reduce any clipping and intersections that occur.
- Back in your cloth game object, in the 'Capsule Collider's' section set the number of colliders you want, then drag them in from the scene hierarchy into each array slot. DONE!
As an aside, one cool thing about this is that it allows you to have different collision for different cloth objects. In the Lars example he actaully has three different cloth objects, one for the poncho and two for the drawstrings. Now, if the drawstring objects used the same collision colliders as the poncho they would intersect as they would be using the same collisions source, so would naturally settle at the same point under simulation. To combat this they have separate capsule colliders that are large versions of the original poncho ones. This means that the drawstrings will settle nicely on the poncho and not intersect!
5) 'Pinning' Pom Poms
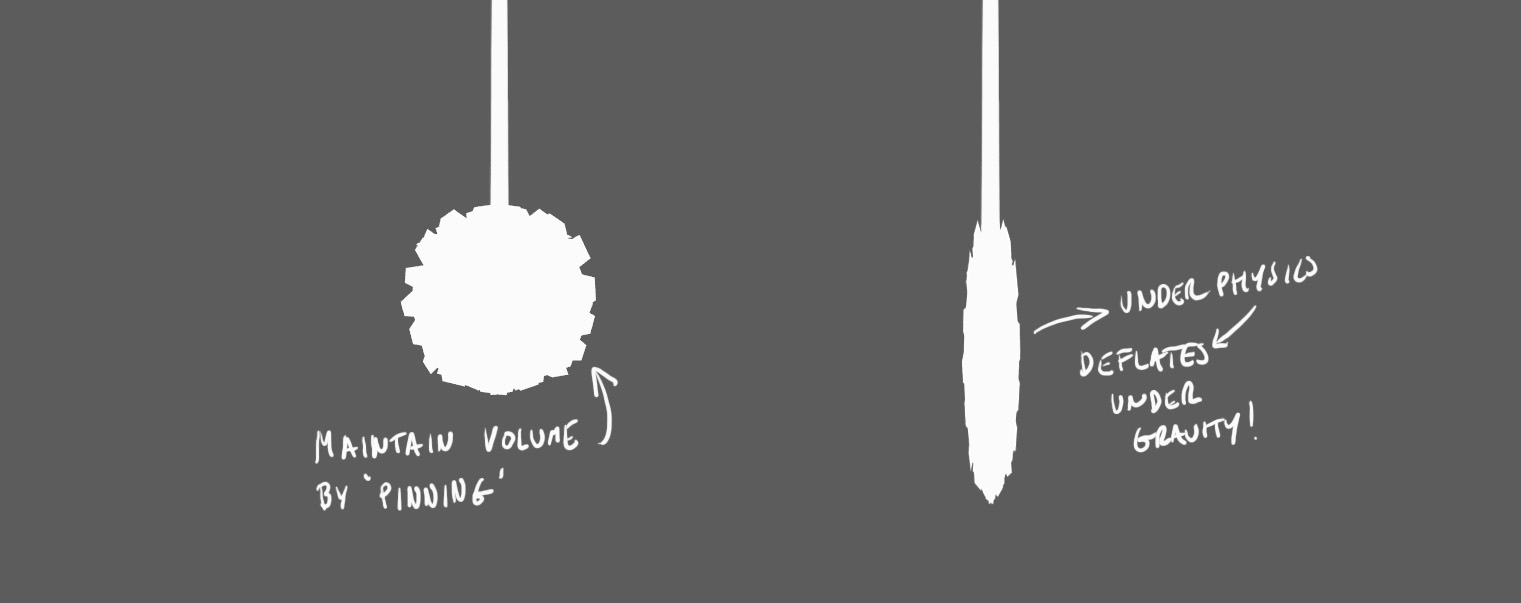
Now, the eagle eyed among you might have realised that Lars' pom poms are not part of the cloth mesh, but instead are 'pinned on' afterwards. This was for one simple reason, spheres (or in fact any 3D mesh) will not maintain volume when using cloth! With the spherical pom pom part of the cloth mesh, as soon as the physics simulation began the plump sphere sagged and deflated, like a sad used balloon or depressed pitta bread longing some hummus, it was not a good look. I've done a scribble to illustrate below :(
Faced with this problem we decided to simply pin them on afterwards, the pom poms are not part of the cloth simulation! To do this we have a custom C# script that finds the position of the bottom vertex of the cloth cord and uses that position to pin the pom pom in place every frame. We've included a short C# script excerpt below, it's pretty simple:
This was the pom pom stays nice and plump, although in the interests of full disclosure it does have one minor drawback. If you look closely you you see that the pom poms do not rotate, they always have the same orientation! We had a hunch that this wasn't going to be that noticeable due to the spherical nature of the pom pom and once we tested it out it we were content that it wasn't a deal-breaker so decided to run with it.
That's a wrap!
That's it, you can see the finished version again above. We hope you enjoyed our first tutorial. If you liked it feel free to share it around! Fingers crossed it might prove useful to a few of you and offer an interesting insight to others. Next week normal blog service will resume but we might do some more of these every once in a while if there is an element of Röki that people would like to know more about.
Cheers,
Alex & Tom


